9 minutes
Installing Android 7.1 Nougat Based ROM on Galaxy Note 10.1 (2014) Tablet
About five years ago, I acquired a Galaxy Note 10.1 (2014 Edition) tablet. At the time it was a pretty decent piece of hardware with a 2560x1600 WQXGA 299 pixel density display, 3GB RAM, fast CPU, and Android 4.3 Jellybean (later updated to 4.4 KitKat and then 5.1 Lollipop). I never really got into the S-pen component like I thought I would and mostly use it as an e-reader and news/web browser.
Lately though it’s been showing it’s age and dragging a bit, plus the battery has started to swell. With phone prices going through the roof these days (and being almost as large as a small tablet), I really couldn’t justify picking up a new tablet. So rather than pick up something new for my reading habits, I thought I’d see if I could clear out some of the crud out of the Note, swap out the ROM for something a little more recent, and pop in a new battery.

Replacing the ROM
The last time I messed around with ROMs on android devices was a good seven or eight years ago when I replaced the 2.2 Froyo ROM on my OG Motorola Droid with Peter Alfonso’s 2.3.5 Gingerbread based ROM, GPA13. I remember it being somewhat of a chore to track down all of the bits and bogs needed to install the ROM, and I discovered things haven’t changed much since.
After a bit of research on XDA Developers, it seemed like most folks stopped messing around with the Note 10.1 (2014) circa 2017 or so. Although there were some references to an Android 8.0 Oreo based ROM, it seemed like LineageOS 14.1 Android Nougat 7.1 based ROMs were the most promising.
Now, there are many ways to go about installing a new rom, but generally speaking you need to perform the following steps:
- Gain root access
- Use a recovery tool and back a backup of your current environment (optional)
- Wipe the current system
- Flash new the ROM onto the device
- Flash Google Apps onto the device (optional)
- Flash any other tools (e.g. superuser app)
- Reboot and setup your new environment
Rooting the Tablet
This turned out to be pretty easy. I basically followed this procedure at Android Central. The basic idea is to turn on USB Debugging, boot into “download mode” (by pressing and holding the <Power>+<Home>+<Volume Down> buttons for several seconds) and then use the Samsung Odin tool to push a “CF-Root” exploit to the device, and then rebooting again. A few notes:
First, if you’ve never connected your tablet to your computer before, grab and install a copy of the Samsung Android USB driver for Windows. If you’ve installed Samsung Kies 3, you’ll probably already have this on your system and can skip this step.
Second, if you are starting off from the original Samsung Touchwiz version of Android like I was, you can enable Developer Options by opening the App drawer from the home screen, tapping on Settings, then About Device, and then the Build Number (7 times). Once Developer Options is visible, you can then enable USB debugging.
Third, the labeling on the Odin buttons has been changed at some point. Many of the posts I found on the web say to push the PDA button to specify the “CF-Root” tar file, but if you are using a recent version of Odin (e.g. 3.1.7+), you’ll want to click the one labeled PA.
Recovery Tool
I elected to use the TWRP recovery tool. You could use the standard Android recovery tools, but TWRP makes the process much easier. It also provides a way to edit system files… which I found handy later on. At any rate, you can install TWRP from the Google Play Store. After installing it, use the app to flash the recovery environment to your device. Give it root permissions when it asks. To boot into the recovery tool, power down the device, then press and hold <Home>+<Power>+<Volume Up>. After a few seconds, the device will power back on and load TWRP.
Now I’m normally an obsessive backer-upper, but since one of my objectives was to “eliminate the crud” that had accumulated over five years of use, I elected to skip the backup and wiped everything. I also did this in part to overcome an error issue with flashing the ROM (kept getting error messages related to existing files in the system partition). With that said, if you wipe everything, you’ll also whack TWRP as well. (Nobody tells you this! …but dah!) So if you do this, be prepared to get Odin back out, download (the latest) tar file from the TWRP download site, put the device back into “Download” mode (so power off, then press and hold <Home>+<Power>+<Volume Down>), and use the PA (formerly known as PDA) button to flash TWRP back to the tablet.
Flash the ROM
Originally, I flashed Team Exynos5420’s unoffical LineageOS 14.1 ROM using the latest build. Although LineageOS 14.1 development stopped long ago, this ROM is still being auto built and seems to pull in upstream LineageOS updates (e.g. security updates). In addition to the ROM, I also flashed Open GApps to provide access to the Google Play Store plus several Google apps (specifically i flashed the ARM, Android 7.1, Mini variant), as well as Super SU.
To flash, I followed the ‘standard’ procedure of:
- Putting the flash files (ROM, GApps, and Super SU zip files) in the root directory of the Note’s SD card.
- Rebooting to TWRP recovery mode with ++.
- Wiping system, data, cache, and dalvik
- Installing (flashing) the ROM file
- Installing (flashing) the GApps file
- Installing (flashing) the Super SU file
- Rebooting
This all worked fine (well, actually at one point I booted back into TWRP to wipe the entire system as I noted above and then re-flashed everything a second time to eliminate a flashing error I received the first time I attempted to flash) and so I was greeted with the LineageOS setup wizard after the device rebooted.
Apparently, however, there is known bug in LineageOS 14.1 (at least on the Note 10.1 2014) that causes the setup wizard to crash just before it finishes. Ugh. Since nobody is really working on this tablet anymore, a few folks suggested wiping everything again, flashing an early version of the LineageOS ROM with working setup wizard (found here), rebooting, going through the wizard again and (once successfully through the setup wizard) going back into TWRP recovery to do a ‘dirty flash’ (i.e. don’t wipe anything first) of the latest build (plus GApps and Super SU). Great suggestion, and a lot of work, only to find out it didn’t work (at least for me).
What sort of worked was to flash the ROM, run the setup wizard to the point it crashes, then reboot into TWRP and delete the setup wizard apk (see details here). After doing this, the launcher ran on my next reboot… and it seemed like success, until I starting having WiFi drop out on me constantly. Very annoying.
Figuring it has something to do with the ROM or build (I wasn’t the only one with this problem), I finally abandoned it, and tried a bunch of different ROMs. In doing this, it seems like most custom ROMs share a lot of underlying code… and so suffer from the same two problems (crashing setup and Wifi dropping).
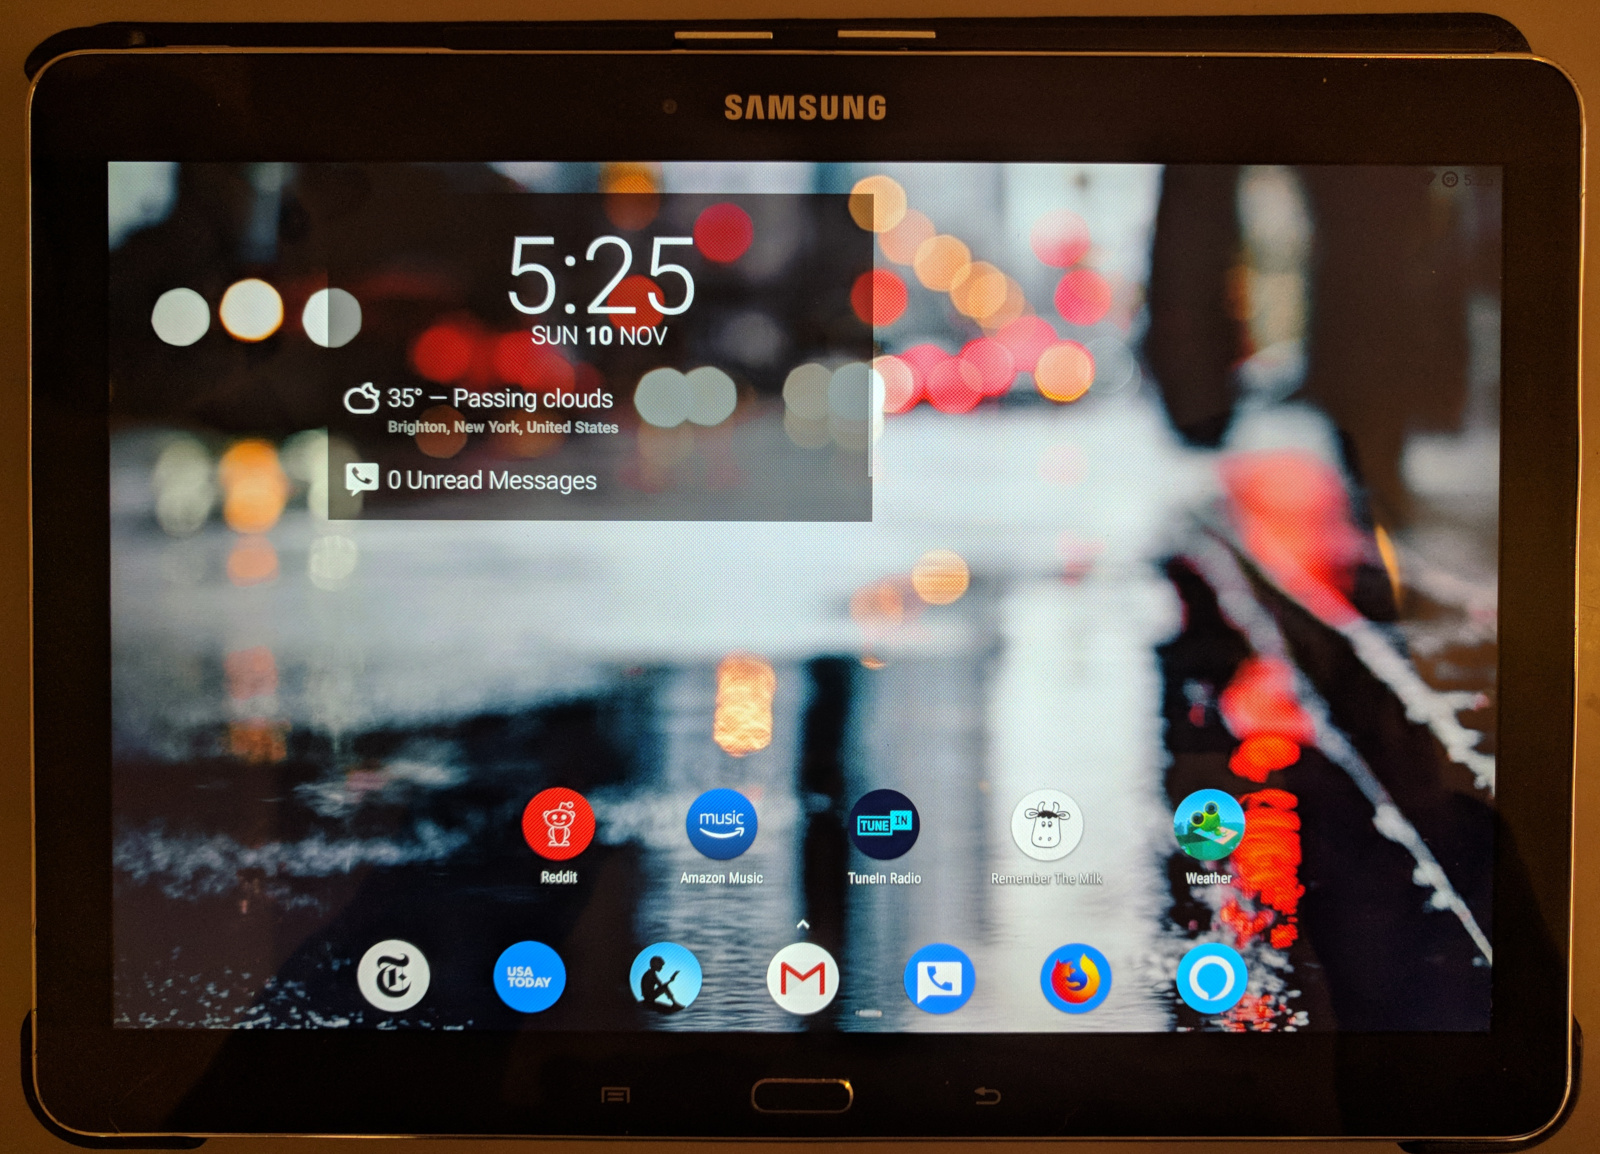
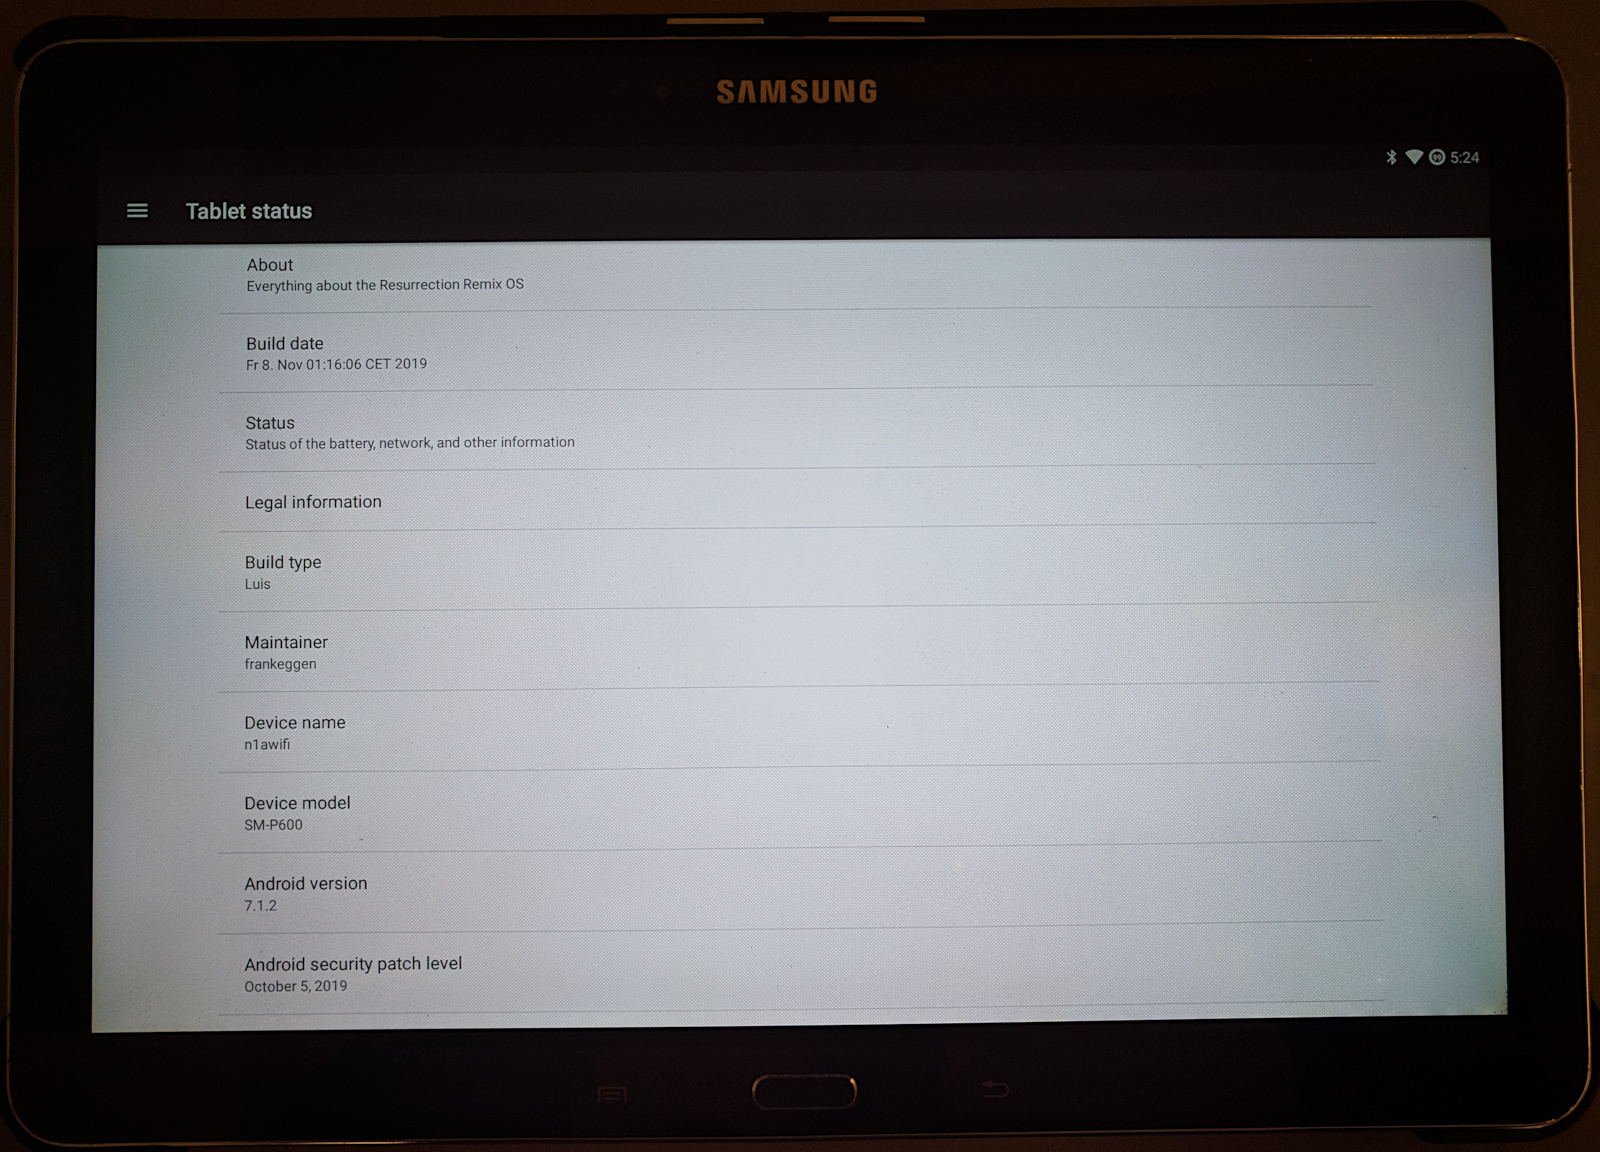
I finally ended up flashing Resurrection Remix 5.8.5 along with the GApps and SU. Although the wizard crashed at the end, the setup did ’take’ and when I rebooted, it launched the pixel launcher instead of looping back into the setup wizard again… so that was progress.
However, in setting up the environment and customizing it to my liking, I was a bit dismayed that although the wifi dropping wasn’t as frequent, it was still happening.
Fixing the WiFi Problem
So after starting to regret that I hadn’t backed up my original 5.1.1 ROM, I stumbled on a few reports that the WiFi dropping issue might be caused by th system not being able to cope well with WiFi networks with both 2.4GHz and 5GHz signals on the same SSID. Most of these reports ended up with poster reporting that problem went away after either disabling 5Ghz signals on their WAP (or splitting the SSID into two with one SSID for the 2.4GHz band and a separate one for 5GHz). This was not an option for me. I’m not going to let one device dictate what my entire wireless environment looks like.
After more searching, I finally stumbled on an old post by madmack on XDA Developers offering up a WiFi Band Switcher. Apparently Android included the option to select 2.4GHz or 5GHz under Advanced WiFI settings, but this was removed from the interface at some point (although the underlying APIs still existed for a while). Figuring I didn’t have much too lose, I placed the wifi_band_switcher-CWM.zip file on my SD card, rebooted the device back into TWRP recovery and installed the switcher. After rebooting and running the app to specify 2.4GHz only, the device now seems stable. No more WiFi drop-outs. Some users did report that while the app still works with Nougat (which I found to be the case as well), the API was changed starting with Oero.

Replacing the battery
With the ROM swap finally finished, I moved on to the battery. This was much more straight forward. I picked a battery out from Amazon (a “Synergy Digital Battery” compatible with SM-P600) and followed the steps outlined in a youtube video. I’ve replaced several other “non-user replaceable” batteries on various devices and this one was among the easiest. Basically, just remove the S-Pen, pry off the screen from the bottom cover with the supplied “pick tools”, detach a couple of wire ribbons, swap out the batteries, reattach the wire ribbons, and snap the cover back on. With that said, the plastic picks and tools that came with my battery (which looked identical to two other ’tool kits’ I’d gotten with other batteries) must have been out in cold at some point… they were brittle and broke easily. Good thing I had extras. If you’re doing this type of thing, I’d also recommend picking up some actual guitar picks. Guitar picks are thinner than the usual picks bundled with many batteries and are very helpful in getting things started.
Conclusion
As with most of my hobby projects, this one took a bit longer than I initially thought but now that it is done, I’m pretty happy with the results. For about $25 (for the battery), I have a tablet with a decent screen that I think I can use for a few more years.
If you’ve done something similar, let me know how it turned out in the comments below. Knowing what you know now, would you do it over again?