10 minutes
Installing digiKam and a Custom Color Profile under kubuntu 18.04
digiKam is a popular open-source photo management system which provides the ability to organize and manage photos, edit metadata, and perform light editing. It can easily handle bulk image organization and RAW image processing. The software was originally developed using the Qt toolset for KDE Linux, but current versions are also available for Mac and Windows systems.
digiKam uses a database to manage its images and metadata. For use on a single computer, the ‘out of the box’ database is SQLite. SQLite is a self contained database system that is automatically bundled and installed with digiKam. However, if you intend to use digiKam from multiple computers, you will need to use a database server such as MariaDB, a popular database server based on mySQL.
Installing MariaDB is relatively straight foward and there are many good articles explaining how to install MariaDB on a server. For purposes of this post, I will assume that you already have a MariaDB (or mySQL) server available and you can be log in as root.
Setting up MariaDB for digiKam
Although it is possible to use a local “internal” version of mySQL that only runs when digiKam runs, I will use the external “remote” option so that I can access the same data from both my laptop and desktop computers using MariaDB.
To prepare MariaDB for digiKam, perform the following steps to create a database and user:
Log on to your MariaDB server.
Log on to the MariaDB command line interface as root (when prompted enter your root password):
$ sudo mysql -u root -pCreate the database for digikam:
CREATE DATABASE digikam;Create a user and grant privileges to use digikam database to it (replace password with the user password you’d like to use):
GRANT ALL PRIVILEGES ON digikam.* TO 'digikam'@'%' IDENTIFIED BY 'password';Note the use of ‘digikam’@’%’ allows the user digikam to connect from any IP. If your server is exposed to the internet, you may wish to be more restrictive. See Configuring MariaDB for Remote Client Access for more information.
Activate the new privileges:
FLUSH PRIVILEGES;Quit MariaDB:
\q
If you are interested in more detail, the digiKam configuration documentation is quite well written and worth a read.
With the database and user created, we’ll shift focus to setting up the cifs/samba network share for use with digiKam.
Mounting Network Share
Since I am going to be accessing the photos from multiple computers, I have located my photo files on a Synology NAS. digiKam is able to access image files on remote systems via cifs/samba and nfs. As some of my computers are Windows boxes, I have elected to use cifs/samba. (For information on how to configure a Synology NAS to share folders via cifs, see Create a Shared Folder.)
To mount the shared folder housing my photos on the NAS, I’ve edited my fstab file to automatically mount the folder for me. As fstab is readable by everyone on my system, I don’t want to store my cifs/samba credentials in the fstab line. Therefore, I first created a credientials file, and then pointed my fstab entry to it. Here are the steps to setup the credentials file and then edit fstab (under ubuntu 18.04):
If you haven’t already done so, install the cifs-utils:
$ sudo apt-get install cifs-utilsCreate credentials file.
$ nano ~/.smbcredentialsEdit the credentials file as follows (the cifs_username and cifs_password should be the username and password used to access the shared network directory):
 username=cifs_username
 password=cifs_password
Save the file and exit.
Change the permissions on the credentials file to prevent unwanted access:
$ chmod 600 ~/.smbcredentialsCreate a mount point for your shared network directory (I used /mnt/filmrolls, but you can name it whatever you want):
$ sudo mkdir /mnt/filmrollsOpen /etc/fstab for editing.
$ sudo nano /etc/fstabAdd the following line to the end of the file where servename is the name of your cifs/samba server (NAS), sharename is the name the shared folder with your photos, workgroup is the name of your Windows workgroup and username is your kubuntu username:
//servername/sharename /mnt/filmrolls cifs vers=3.0,nofail,x-systemd.automount,x-systemd.device-timeout=10,workgroup=workgroup,credentials=/home/stewart/.smbcredentials,iocharset=utf8,sec=ntlmssp,uid=1000,gid=1000 0 0You may need to fiddle around with the cifs arguments based on your particular sitation and NAS. In my case, here is the rational for the arguments I’ve used:
nofail: I don’t want errors reported if system can’t connect (as might be the case when my laptop is not on my local network).
x-systemd.device-timeout=10: Don’t wait more than 10 seconds for connection (default is 90 seconds).
vers=3.0: My NAS is configured to only allow SMB2 or SMB3 connections (The older SMB1 dialect isn’t terribly secure these days).
x-systemd.automount: This option will delay actual mounting until file access is first attempted. With kubuntu 18.04, I was having issues with the system not mounting the shared folder at re-boot. After googling a bit, I wasn’t able to get a clear reason for this, but it seems like maybe fstab mounting now occurs before networking is up. This argument eliminated this problem.
sec=ntlmssp: Uses NTLMv2 password hashing encapsulated in a raw NTLMSSP message.
uid=1000: By default, only root will be able to write to the mounted directory. This will allow my user to do so. You can identify your user id by issuing id -u at the command line. If your user account was the first one created, it will probably be 1000.
gid=1000: By default, only root will be able to write to the mounted directory. This will allow my user group to do so. You can identify your user id by issuing id -g at the command line. As with uid, it will probably be 1000.
Finally, test the fstab entry using mount:
$ sudo mount -a
Assuming there are no errors, re-boot to confirm update is persistant. After re-booting, the share should mount automatically when first accessed.
With our database created and our image files mounted, we are now ready to install digiKam and configure it.
Installing digiKam
There are a couple of ways to install digiKam on Linux. Many linux distributions maintain digiKam packages in their distributions. However, digiKam is updated frequently and these distribution copies tend to lag behind quite a bit. For example, the version available in kubuntu 18.04 is currently 4.5.6, where as the current release version is 6.0.0.
As an alternative to your distribution’s packaged version, digiKam is available from the developers as an AppImage. Essentially, you download the AppImage, set it to be executable, and then run it.
Set up a directory for the AppImage
AppImage files can be located pretty much anywhere on your filesystem (assuming the correct permissions have been set). Personally, I store AppImages in an ‘opt’ directory under my user account’s home directory. The following terminal commands can be used to create an opt/digiKam directory and then switch into it (omit the first step if you already have an opt directory):
$ mkdir ~/opt
$ mkdir ~/opt/digiKam
$ cd ~/opt/digiKam
Download the software
To download the latest digiKam AppImage, visit the Downloads Page and follow either the 64-bits or 32-bits link under “Linux AppImage”. If your computer was built in the past 10 years or so, you’re probably better off with 64-bits, but if you are using a (very) old computer or know that you are using the 32bit version of your operating system, choose the 32-bits option.
Make AppImage executable
Assuming your brower downloads to your ~/Downloads folder, the following command can be used to move the digiKam AppImage file to your newly created ~/opt/digiKam directory:
$ mv ~/Downloads/digikam-6.0.0-x86-64.appimage ./
(Note that you may need to update the file name if you have downloaded a newer version.)
Once you’ve got the AppImage file located, change the permissions on it so that you can execute it:
$ chmod +x ./digikam-6.0.0-x86-64.appimage
You can then execute it by entering:
$ ./digikam-6.0.0-x86-64.appimage &
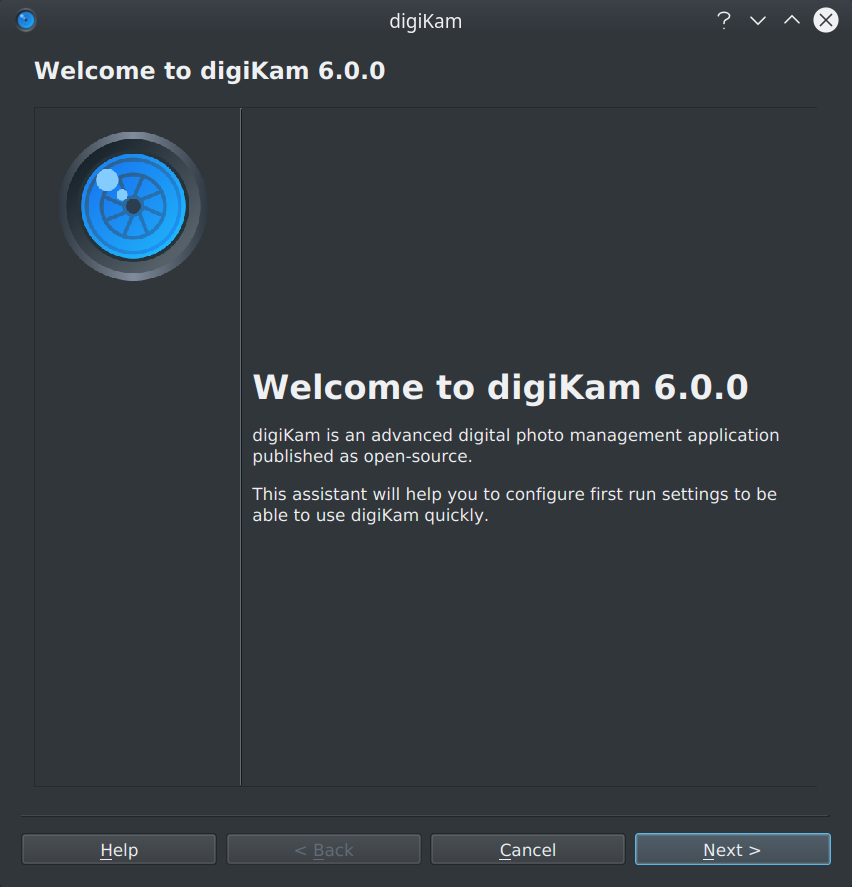
Performing the Initial Setup
The first time you run digiKam, it will start with an ‘assistant’ tool that will allow you to configure initial settings. This will include specifying the path to your photos, configuring the database, and setting a series of additional options (all of which can be changed later if needed).
To get started, click “Next >”.
Configure where photos are stored
From the “Configure where you keep your images”, specify the path to your photos. By default, this will be the Pictures directory of your home directory. I will replace this with the path to the mounted network share (/mnt/filmrolls):

Once you’ve got your path specified, click Next > to move on to database configuration.
Configure digiKam to use your MariaDB database
From the “Confgure where you will store databases” dialog box, select MySQL Server (experimental) and then enter your server settings on the Remote Server Settings tab.
Hostname: the host name of your MariaDB server.
User: This should be digiKam, the database user that was set up for this.
Password: The password you specified for the digiKam user.
Connection Options: Generally, you can leave this blank.
Host Port: Your MariaDB port (default is 3306).
CoreDb Name, Thumbs Db Name, Face Db Name, & Similarity Db Name: enter digikam for each of these. (Clicking the Default Settings will do this for you automatically).

Click on Check Connection to confirm the settings you’ve entered and make any corrections needed. Finally, click Next > to continue with the setup.
Additional configuration options
The digiKam setup assistant will continue to take you through various initial options including how you want to handle RAW files, if you want to embed metadata in files (or just the database), tool tip configuration and a bunch of other options. Read the dialog box comments and make your choice (I mostly just accepted the defaults and clicked Next > alot).
Finally, you’ll come to the end and digiKam will inform you that you’ve made it through the “minimal setup” and will start scanning your images to identify new albums (by which it means the sub-directories that you may have previously organized your photos in).

Click Finish to close the setup assistant and commence scanning.
Specify a Custom Color Profile for digiKam
With our initial setup complete (and images scanned) we can now specify a custom profile. To do so, follow these steps:
Launch digiKam (if not already running)
Select Settings » Configure.
Switch to the Color Management section.
Click on the Profiles tab.
Select the profile you’d like to use from the Monitor drop down.
Click OK to save the settings.

Setup a Launcher Icon for digiKam
One small downside of the AppImage is that is does not setup an Application Launcher. To setup a Launcher on KDE systems, perform the following steps:
Right click on the KMenu icon (tpyically in the lower left corner of your screen) and select Edit Applications….
This will pull up the KDE Menu Editor.
Select the submenu group you wish to place the item in. In my case, I have a photography submenu, but Graphics is another good choice.
Click the New Item button and specify the application name (digiKam) when prompted.
Select your new item, and then complete the following on the General Tab:
- Name: digiKam
- Description: Professional Photo Management
- Comment: Professional Photo Management with the Power of Open Source (or what ever you want)
- Command: The path and filename of your AppImage (e.g. /home/stewartusername/opt/digiKam/digikam-6.0.0-x86-64.appimage)
Click the “icon image” square. Search for ‘digiKam’ (or camera), select the desired icon, and click OK.
Click Save to record the new item and update the Application Launcher.

You should now have a “digiKam” Application Launcher on your KMenu. KRunner will now also list digiKam as an application if you prefer this method of launching applications.
That’s All Folks
That’s it. If you’ve followed along, you will have a digiKam installation on your system using a remotely stored photos, a MariaDB as your database backend, and a color corrected display.