5 minutes
Creating an ICC_Profile for Kubuntu 18.04 Color Monitor Calibration
As a dabbler in photography (among many other things!), I occasionally process and edit photos I’ve taken for print or other purposes. I tend to use open-source software for this and my primary photo workstation is my Dell Latitude laptop running Kbuntu 18.04.
Calibrating a monitor and generating a color profile on Linux involves two components: color profiling software and either a colorimeter or a spectrometer.
Color Profiling Software
Argyll CMS is the defacto color profiling software under linux. Argyll Color Management System (CMS) is a command-line only collection of tools, so is often paired with DisplayCAL. DisplayCAL provides a nice GUI interface for Argyll CMS.
Instrument to Measure Color
A colorimeter is a device capable of taking spectral energy readings from your monitor, measuring red, green, blue, and white components, and then calculating correction factors to adjust your monitor’s output to match accepted known values. A spectrometer measures light intensity to perform similar calculations. Spectrometers are more capable instruments, but generally cost more. For general application, a colorimeter will produce great results.
Argyll CMS and DisplayCAL work with many colorimeters and spectrometers. Personally, I am using a Spyder 3 I grabbed off ebay for around $50. A list of all supported instruments can be found on the DisplayCAL requirements page.
Assuming you’ve got a suitable instrument, installation of the software is the next step.
Installation
First, we’ll want to download a copy of the latest DisplayCAL software for our system. To do this, go to the DisplayCAL download page and download the appropriate package for your system. If you’re using Kubuntu 18.04 on recent hardware, that would be the x86_64 package for Ubuntu 18.04 (Bionic).
Next, open a terminal window and cd to your Downloads directory (or location where you saved the .deb file to) and use apt install to install the software:
$ cd ~/Downloads
$ sudo apt install -y ./displaycal_3.7.2.0-1_amd64.deb
When prompted, enter your password. DisplayCAL will then be installed along with supporting software including Argyll CMS which will do most of the ‘heavy lifting’ for us.
After the installation is complete, you can launch DisplayCAL from your Application Launcher or from the terminal by typing ‘displaycal &’. On Kubuntu 18.04, you’ll find displayCAL under Applications » Graphics.
Setting Up DisplayCAL
If you haven’t yet plugged in your instrument, now is the time to do so. Once connected, start DisplayCAL from your terminal or Application Launcher.
$ displaycal &
The first time you run DisplayCAL you may be prompted to update it. If so, click the “Update” button. This will automatically grab and install the most recent updates.
For the Spyder series of colorimeters (such as my Spyder 3, you may also be prompted to insert a software CD for Windows for your instrument. If you have this, displayCAL will import a base set of color corrections for it. However, displayCAL can also download these files automatically from the web. To do this, select your device (e.g. ‘iColor Display DTP94, i1 Display 2, Spyder 3’) and then click the Auto button.
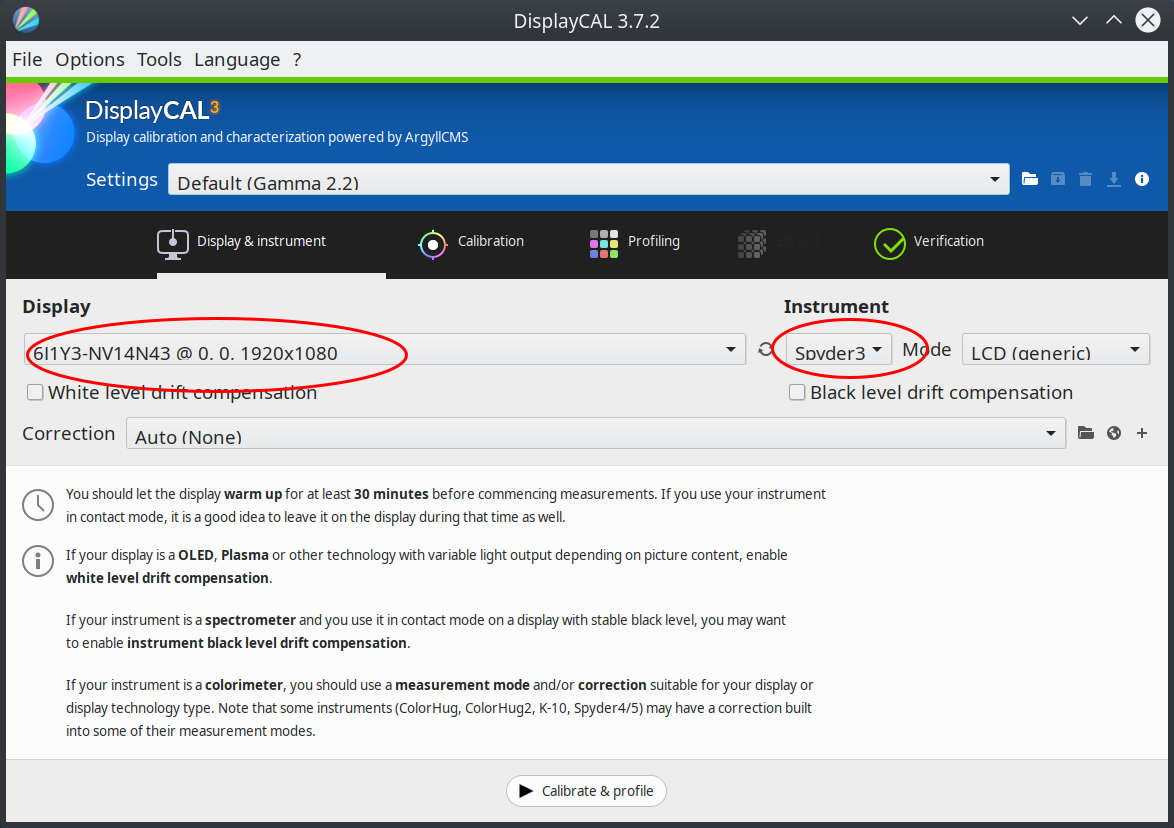
When finished, you’ll have the main DisplayCAL window displayed with your default monitor and instrument selected.

Calibrating Your Monitor
If you have multiple monitors (for example, a laptop connected to an HMDI monitor), select the monitor you wish to calibrate from the drop-down list box.
On the Calibration tab, you can leave the default values of “as measured” for whitepoint and white level. If you know you will only be working in sRGB space, select it from the Tone curve drop down; otherwise Gamma 2.2 is ok for general application. The default calibration speed is high, but you can adjust the speed using the slider. In general, the slower the speed (longer the time) the more accurate the results. For my purposes, i use the default “High” value.
With your monitor, instrument, and calibration settings set, go ahead and click the “Calibrate & profile” button at the bottom of the window.
A measurement window will pop-up. Adjust the size (if necessary) and then mount your instrument (centered) over the measurement area. The Spyder3 comes with a counterbalance weight to help hold the instrument in place during calibration. Center the instrument over the measurement area and then run the cord over the top of the monitor. Finally, adjust the counterbalance so that the instrument ‘hangs’ in place. Once positioned, click the ‘start measurement’ button on the measurement window.
Before calibration actually begins, you will be prompted to adjust your monitor settings (R, G, B and brightness settings). (For laptop screens, you may only be able to adjust the brightness; in this case, set the brightness to the maximum value.) Once adjusted, click the calibration button to continue the calibration process.
During the calibration process, a series of colors will appear in the area behind your instrument. This routine and will take from about 20 minutes to 120 minutes depending on the speed/accuracy you selected.
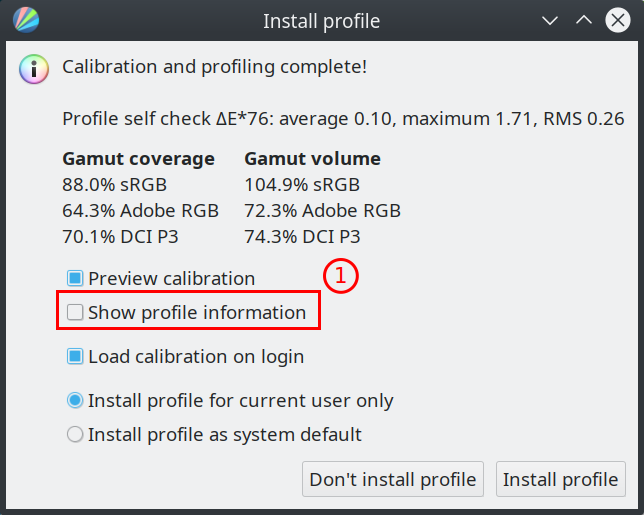
Once finished, DisplayCAL will offer the ability to display the newly generated profile and to install in as the default option for just your user or as a system default.

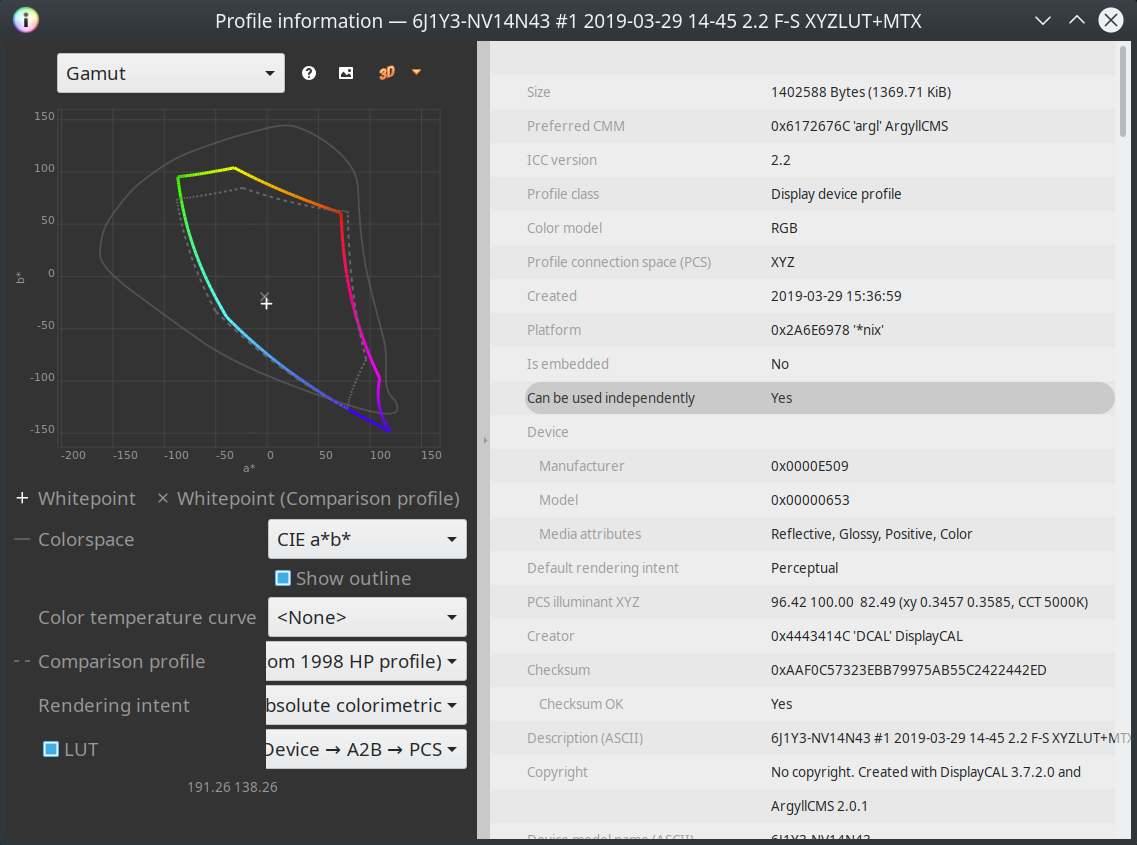
To display information about the newly generated profile, click the “Show profile information” check box (see #1 in screenshot above). This will display information about profile and color space of your monitor.

To install the profile, indicate if you want to install it for the current user only or system wide. Then click “Install”.
You can find ICC_Profile settings (.icc file) in your .local/share/DisplayCAL/storage/ folder:
$ cd ~/.local/share/DisplayCAL/storage
$ ls
By default, the profile will be named after your monitor and date/time generated.
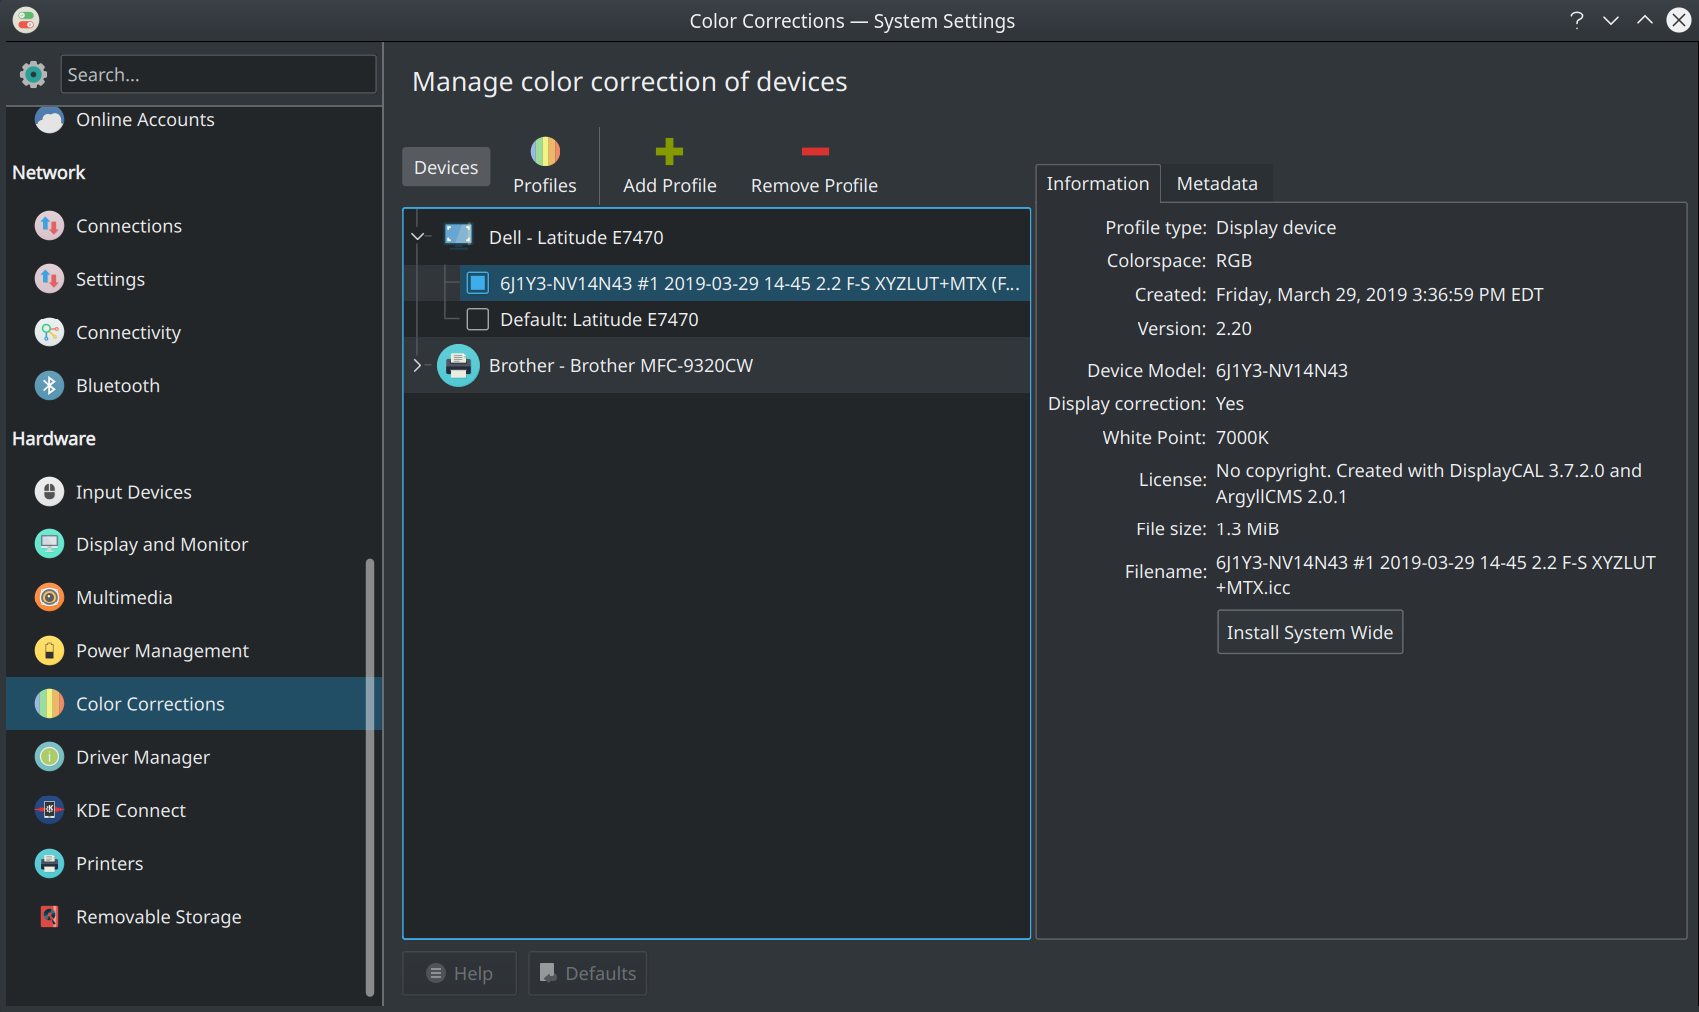
To confirm your profile was configured, you can use the colord. Colord is a system to assist with managing and installing color profiles. On KDE systems a graphic front end tool, colord-kde can be used. To install (under ukbuntu 18.04):
$ sudo apt-get install colord-kde
To view the profile, select System Settings » Color Corrections (e.g. from the Application Launcher). If you profile doesn’t appear under your monitor (device), you can add it by clicking profile and then navigating to the .icc file in ~/.local/share/DisplayCAL/storage/profile_name/profile_name.icc.
